N64 Bluetooth Controller
More N64controller 06 Feb 2014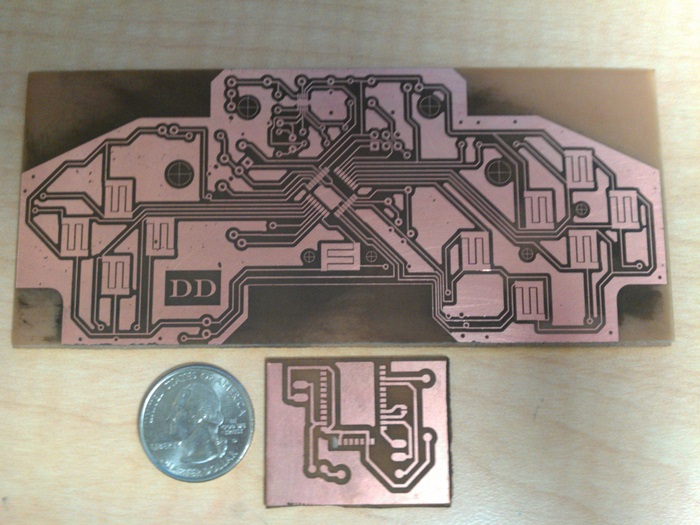
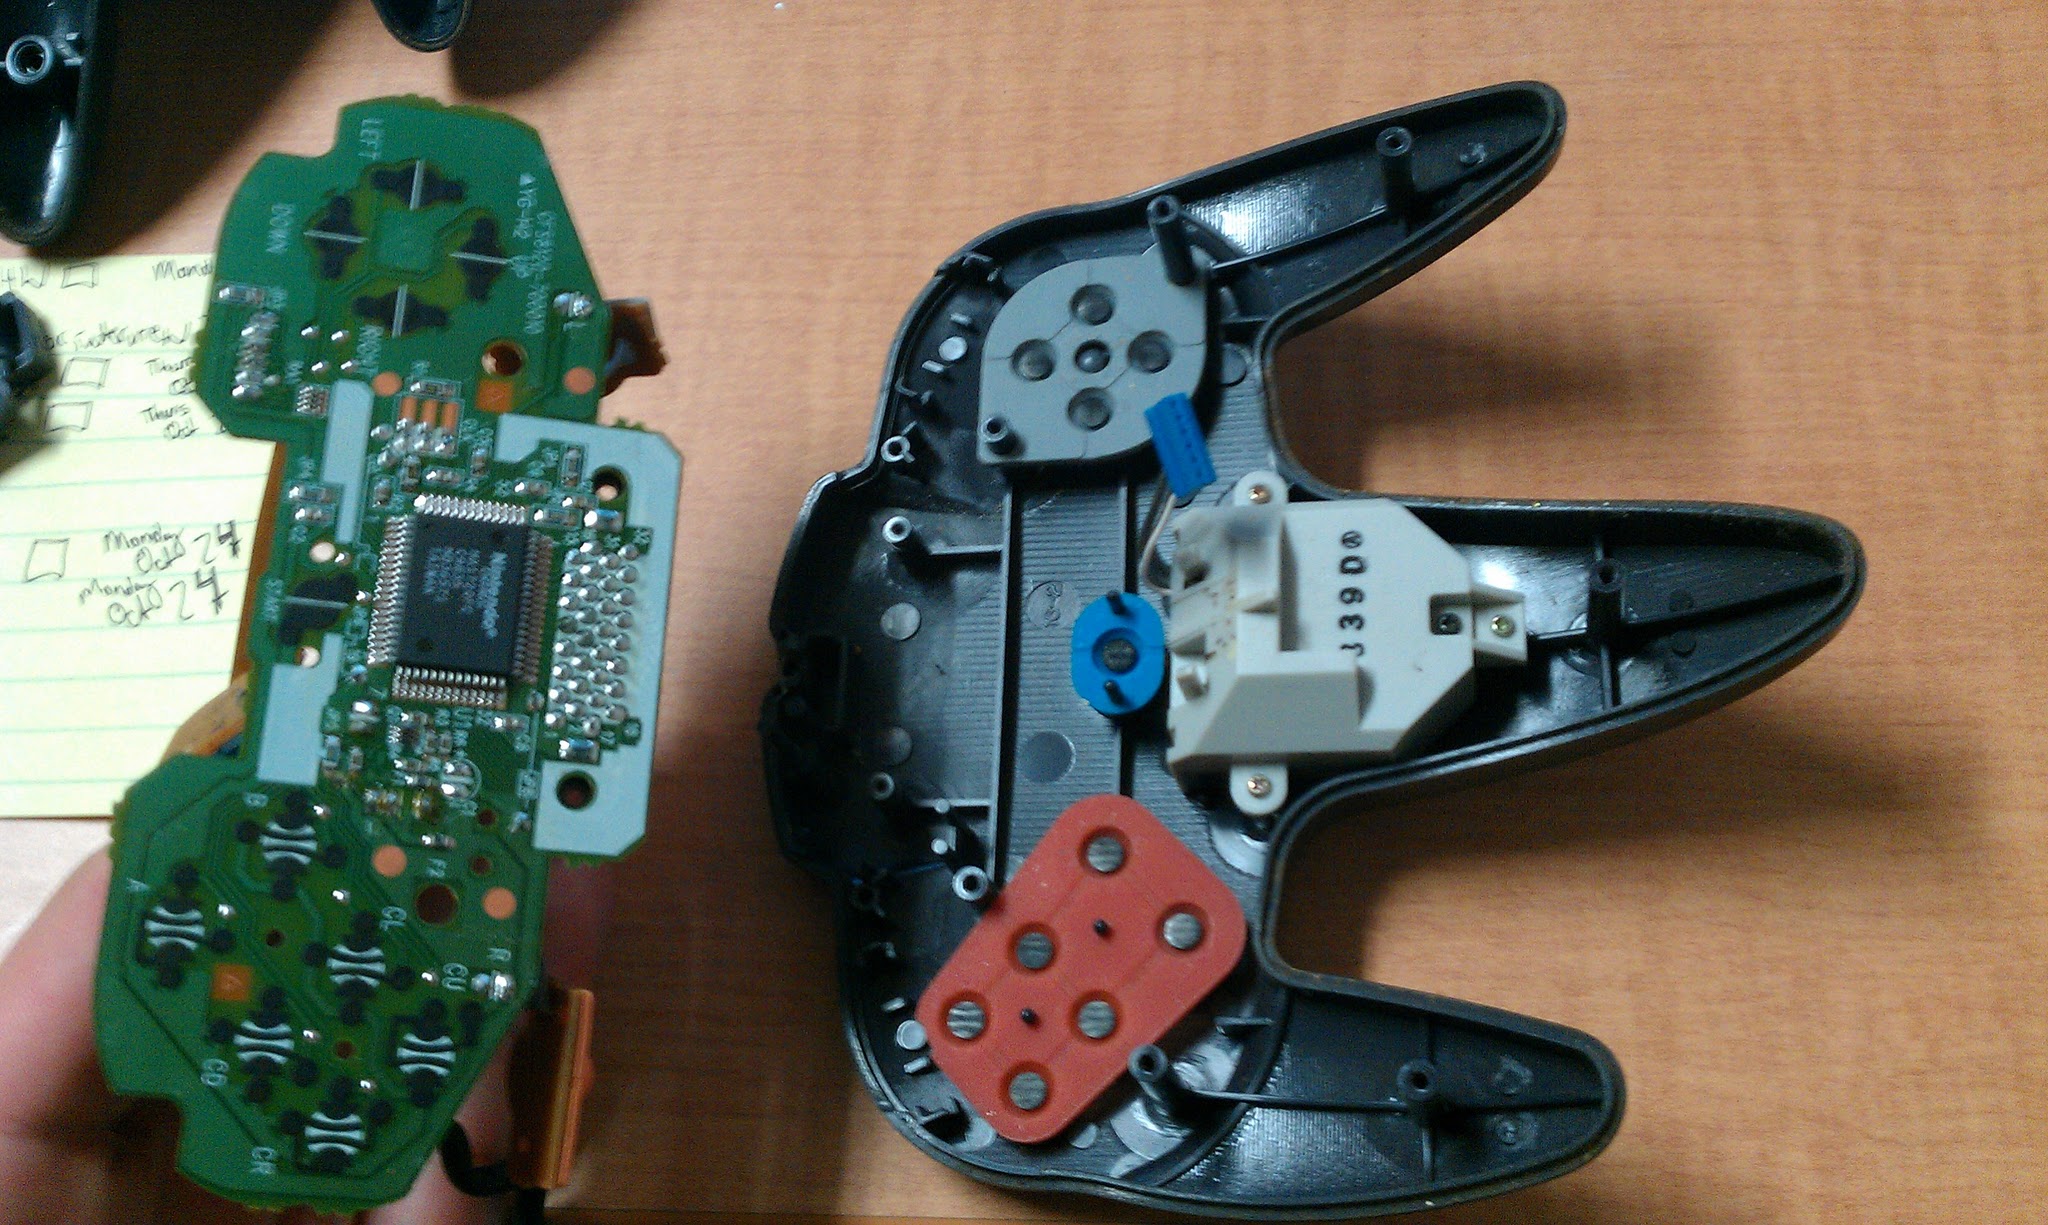
A while back (almost 2 years actually) I decided that I’d like to play emulated N64 games on my computer. Of course this wouldn’t be possible without a real N64 controller, as I refuse to use either a keyboard or a PS3 controller - the easy way out. I decided I had to make a controller to use with my computer. The first idea was to simply cut the cord, provide power to the controller and put a microcontroller in to interpret the data coming out of the controller and send it to the computer as an HID - wired or not. I purchased a used controller to begin my research. First thing I noticed, and if you’ve ever played N64 you’ve no doubt had this issue, was that the joystick was floppy. A common problem with N64 controllers as the insides of the joystick wear out. This raised the idea of replacing the joystick as well. After a little googling, I found this. Long story short, the N64 joystick does not function like a modern potentiometer based joystick, but rather with some little optical sensors looking through windows on the joystick and the pulses tell the position of the joystick. This is why if you start the N64 with one of the joysticks out of its “home” position, it keeps that as the home position until the console is restarted. The joystick only reads relative movements instead of absolute like a potentiometer. This means that if I’d like to install a new joystick, I need another microcontroller. That means one on the wire to the computer, and one inside the controller. I might be able to combine and use one, but I didn’t fancy my odds of making the wiring on that nice.
Through one design decision to the next, I eventually came to the conclusion that I had to replace the entire controller board. And since I was already in that deep, I might as well use this fancy Bluetooth chip I saw on Sparkfun. It connects to devices as an HID or human interface device, allowing me to use my controller with no drivers or other software on the computer side, with the added bonus that I might be able to use it with my tablet or phone, also with no fancy software tricks. I started my circuit board design career with the design of the Bluetooth breakout board. I didn’t have room for it on the main board, and it would make configuring the bluetooth board a heck of a lot easier if I could connect it directly to a breadboard. I designed the board in Diptrace. I would have like to use Eagle, but the free version of Eagle is limited by the size of the board, whereas Diptrace is limited by the number of pins. It works great for me. I use the toner transfer method to make circuit boards, initially with an iron, but eventually with a laminator I invested in.
The laminator is another story that deserves its own post, which it will receive in due time. I modified it to run several hundred degrees hotter than it should, and it melts toner onto circuit boards very reliably. Allowing me to make stupid thin traces on my boards.
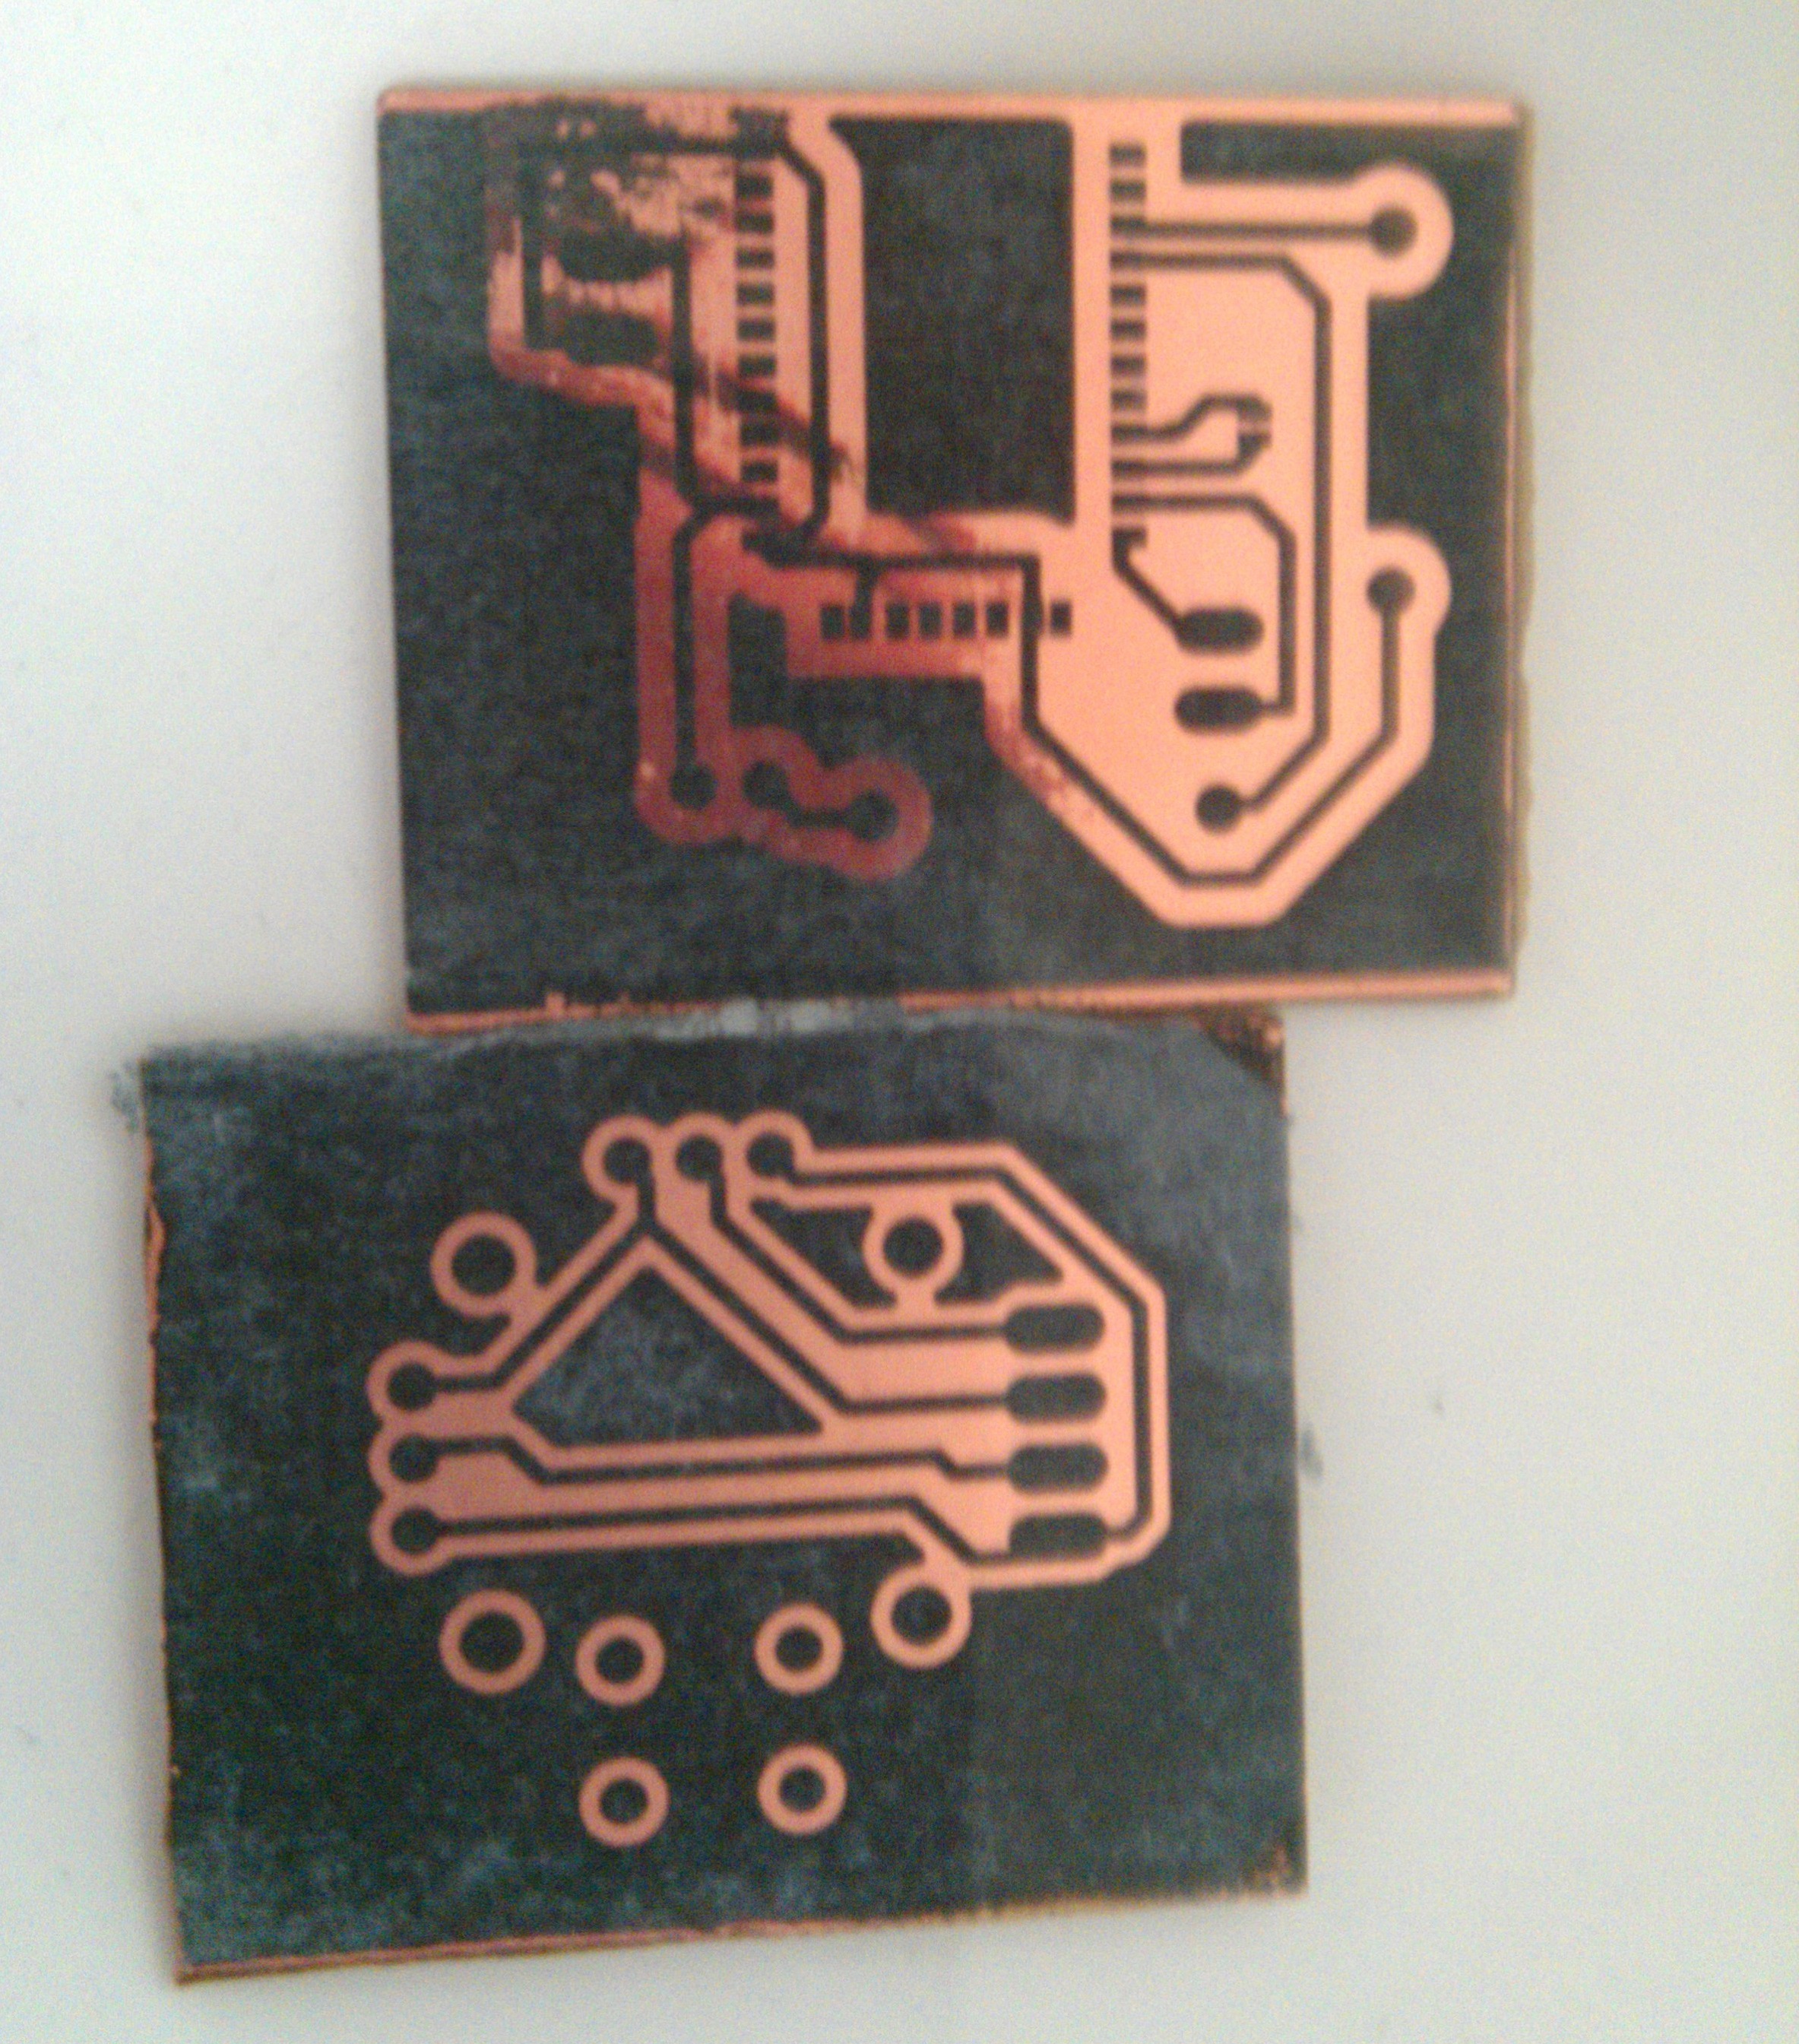
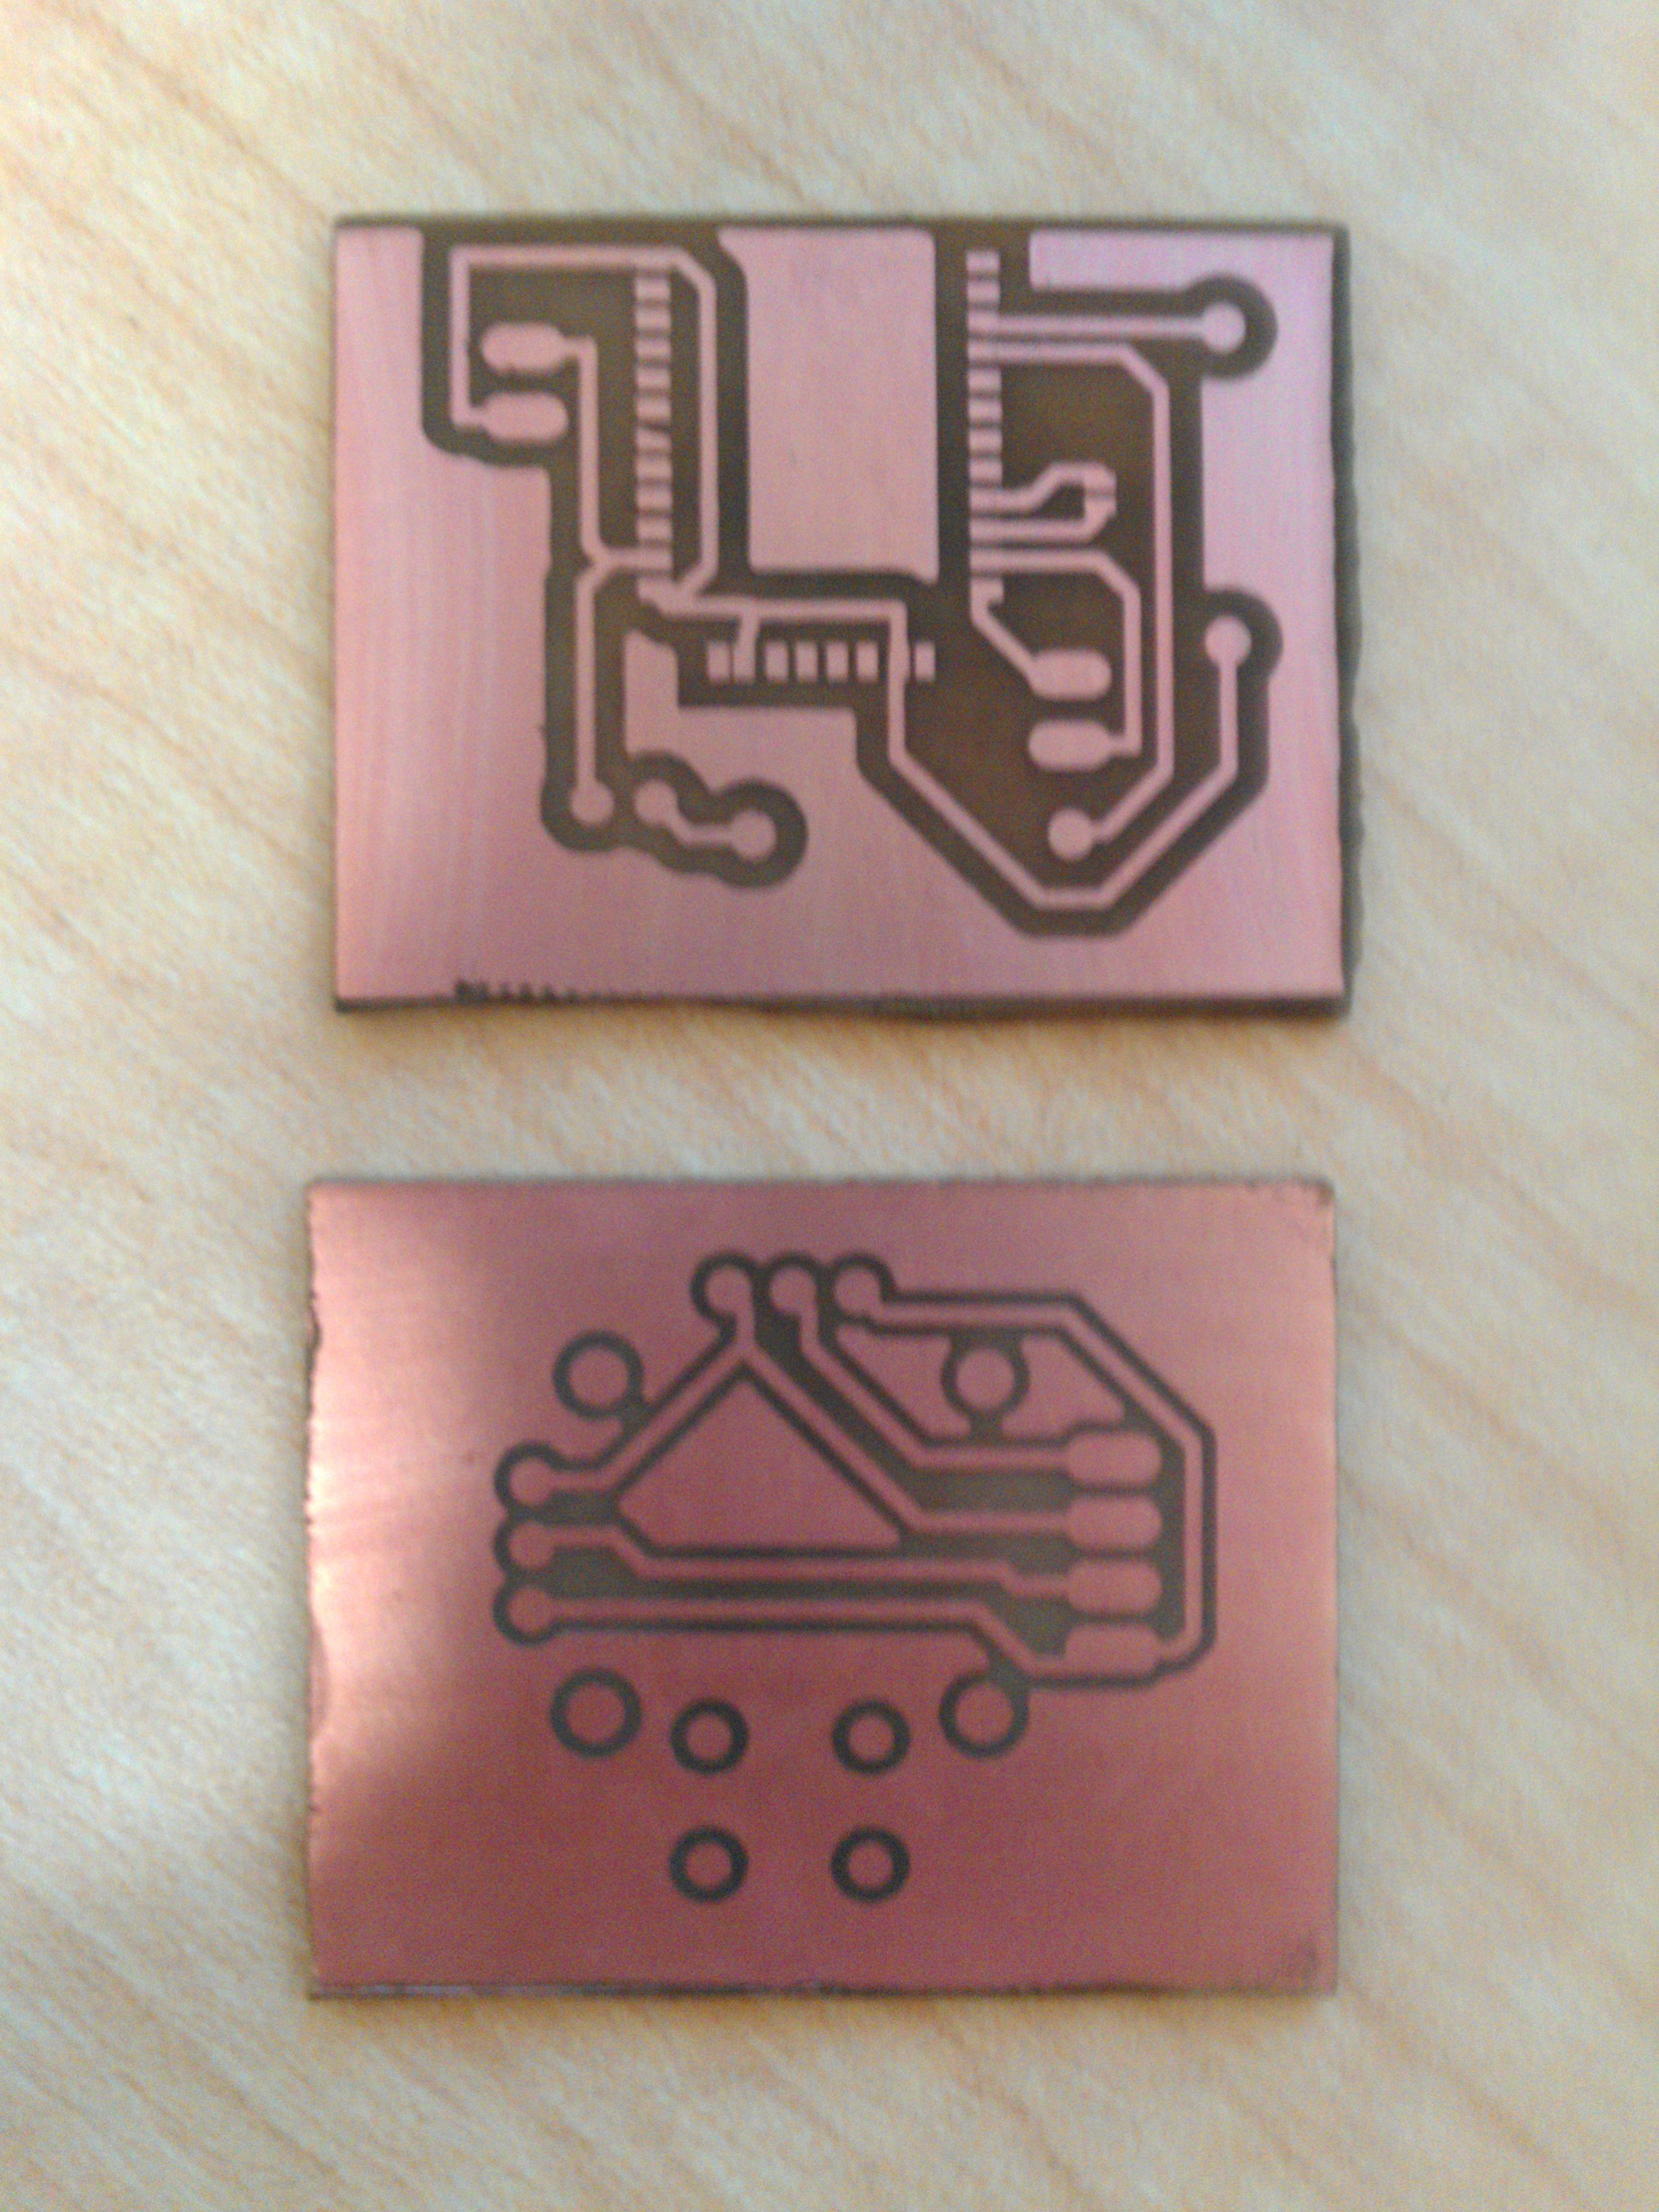
Here’s the Bluetooth breakout board with room for an led and some resistors, as well as the joystick board. Both still have toner on them, with the paper removed but not cleaned off. Clorox wipes do wonders for cleaning the remaining paper off a toner transfer after a good water soak.
Here are the same boards after etching.
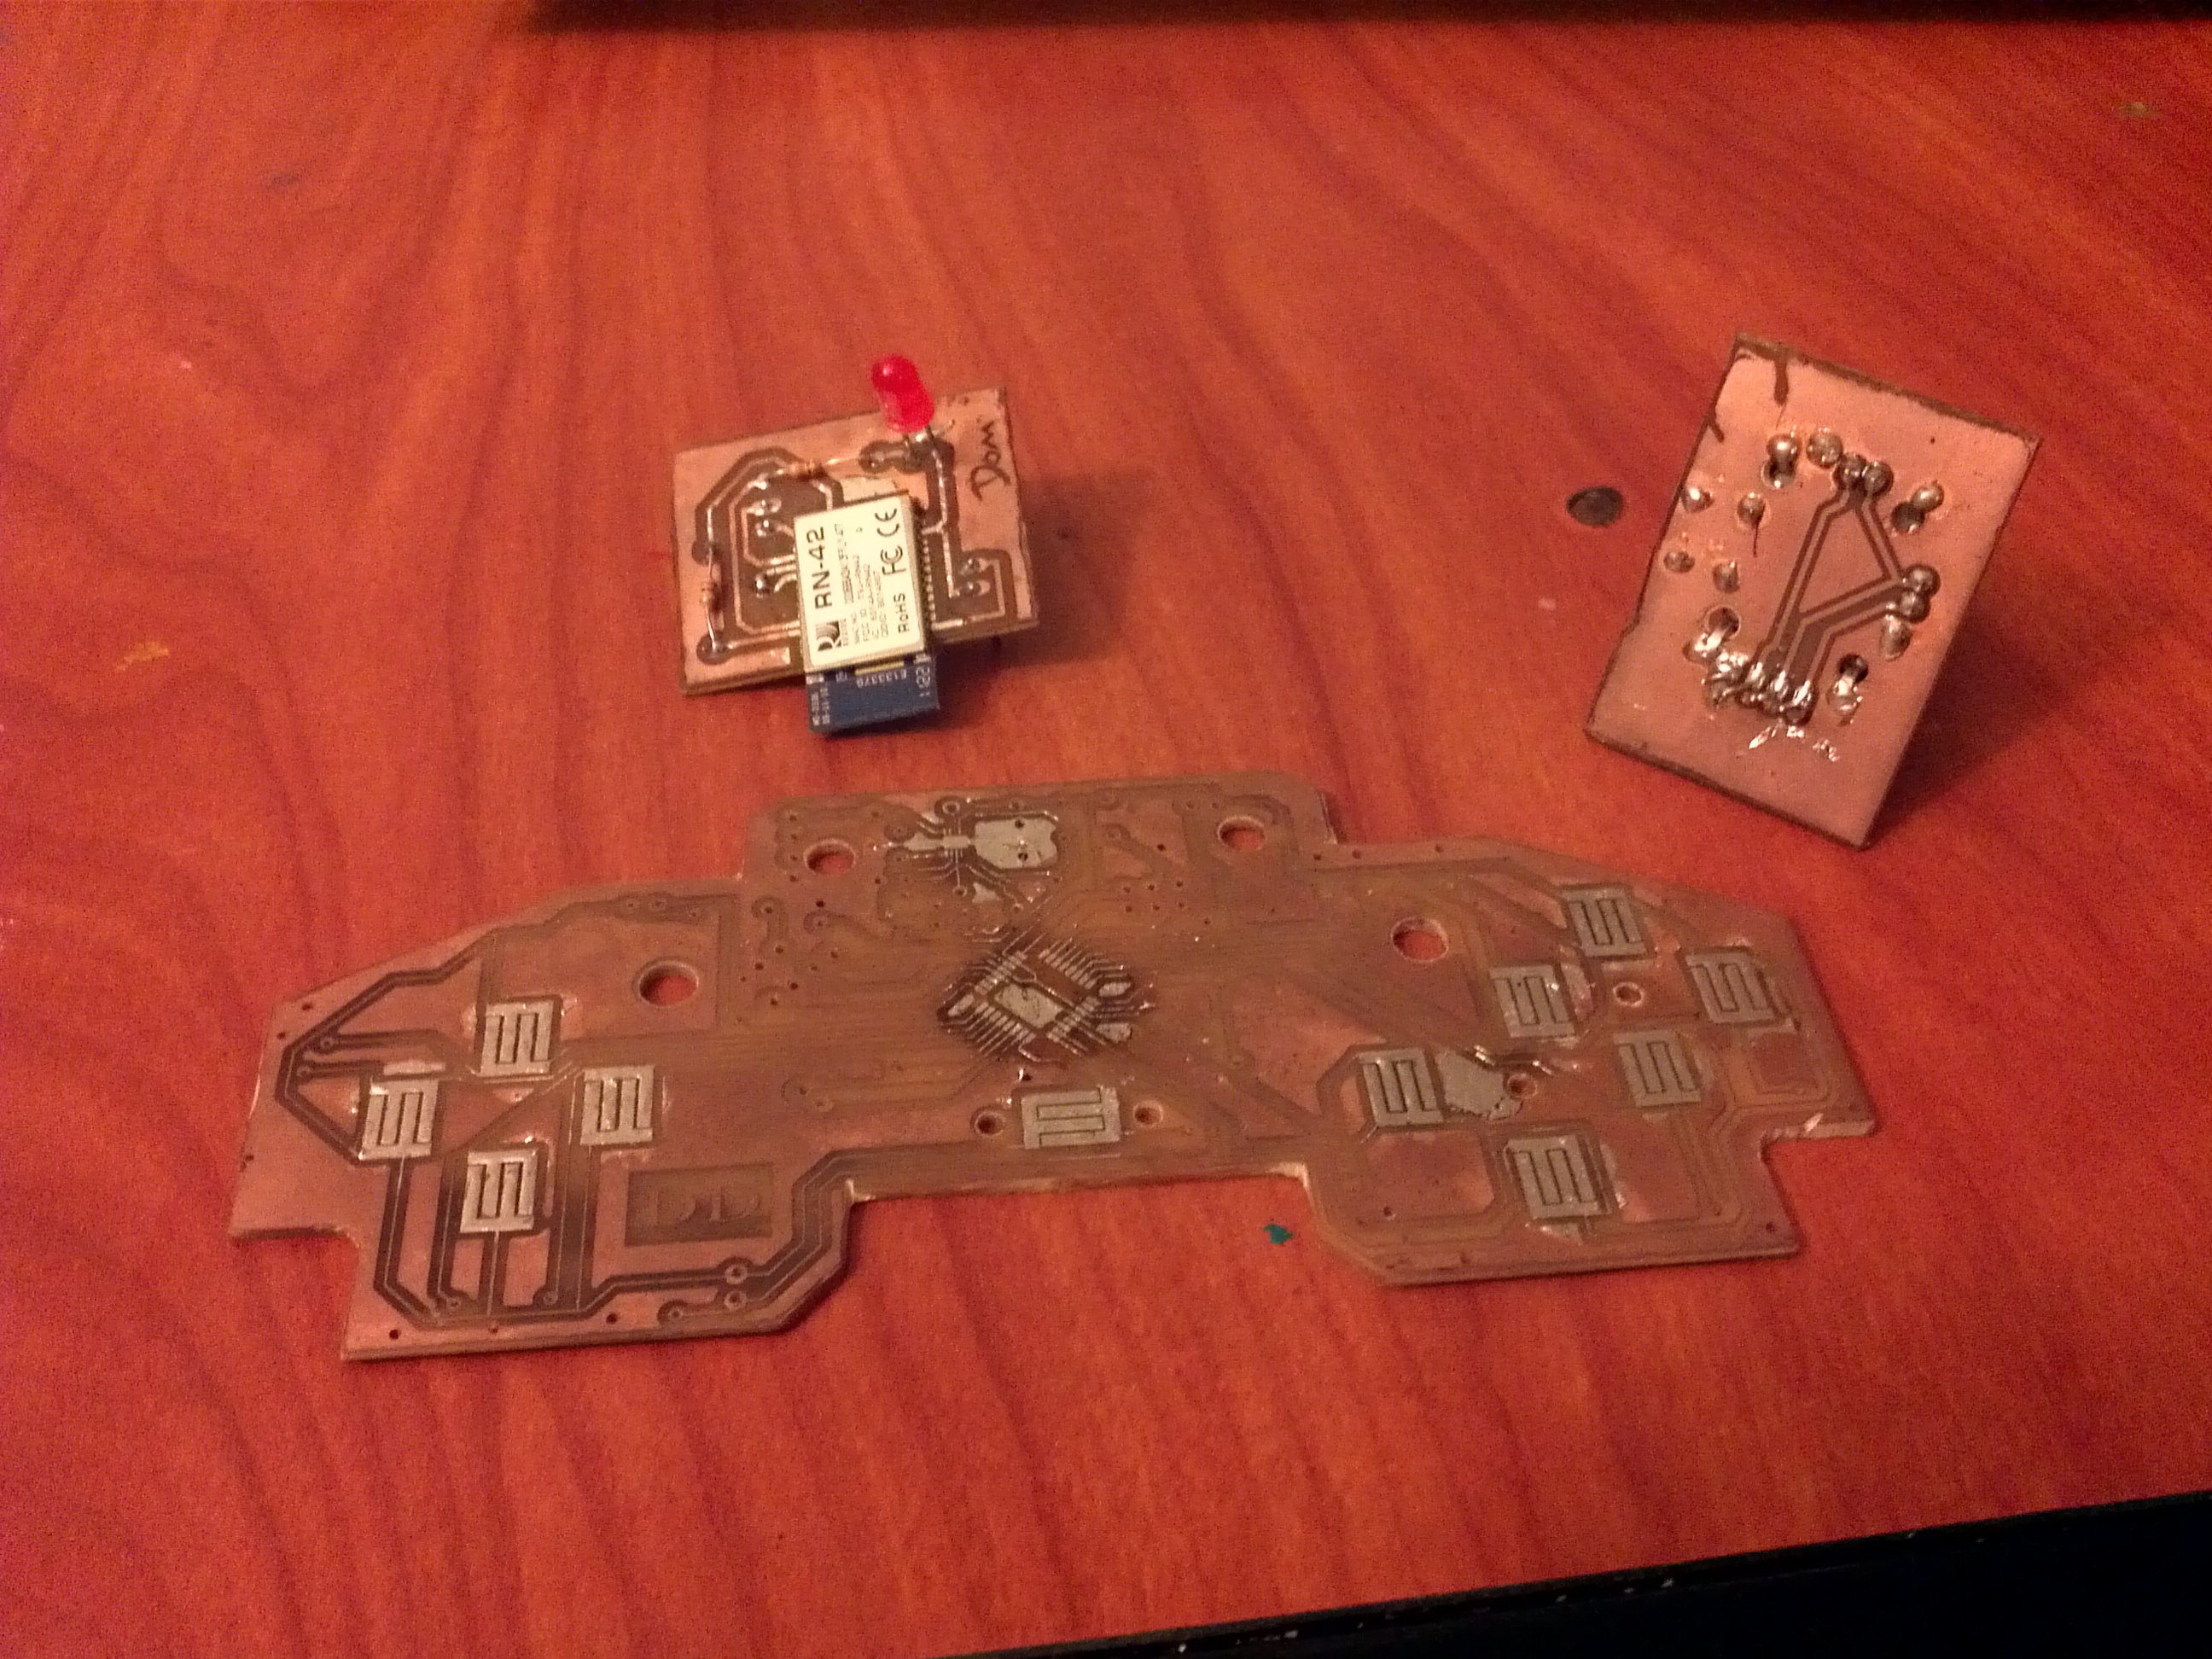
And here is the current state of the project. I designed and etched the main board, and tinned the button pads. Things ground to a halt for a short amount of time due to my lifting a trace on the board. I was attempting to solder an unbearably small SON (small outline no-lead) chip from Texas Instruments. I got the chip soldered in place, but it was just slightly out of line and shorted two of the pads. I tore up one of the minuscule traces at the very top of the board trying to de-solder it for a second go. The chip is a pretty cool buck boost converter that can both step voltages up and down to a constant voltage from one that varies across that constant voltage. In my case, it would provide 3.3v from a lipo battery which varies from 4.2v to 2.8v or 3v depending on how much you discharge it. After I ruined those traces, I decided I should purchase an equivalent (mine was based on, some might even say copied from, this design) circuit from Sparkfun. I currently stand with all parts in my possession waiting to be soldered onto the board. Then lies ahead the daunting task of programming the system. Stay tuned for updates!
DominicDoty.com and all work shown in it is licensed under a Creative Commons Attribution-NonCommercial-ShareAlike 4.0 International License.