Laser Cutter Cutting
More Laser 27 Aug 2018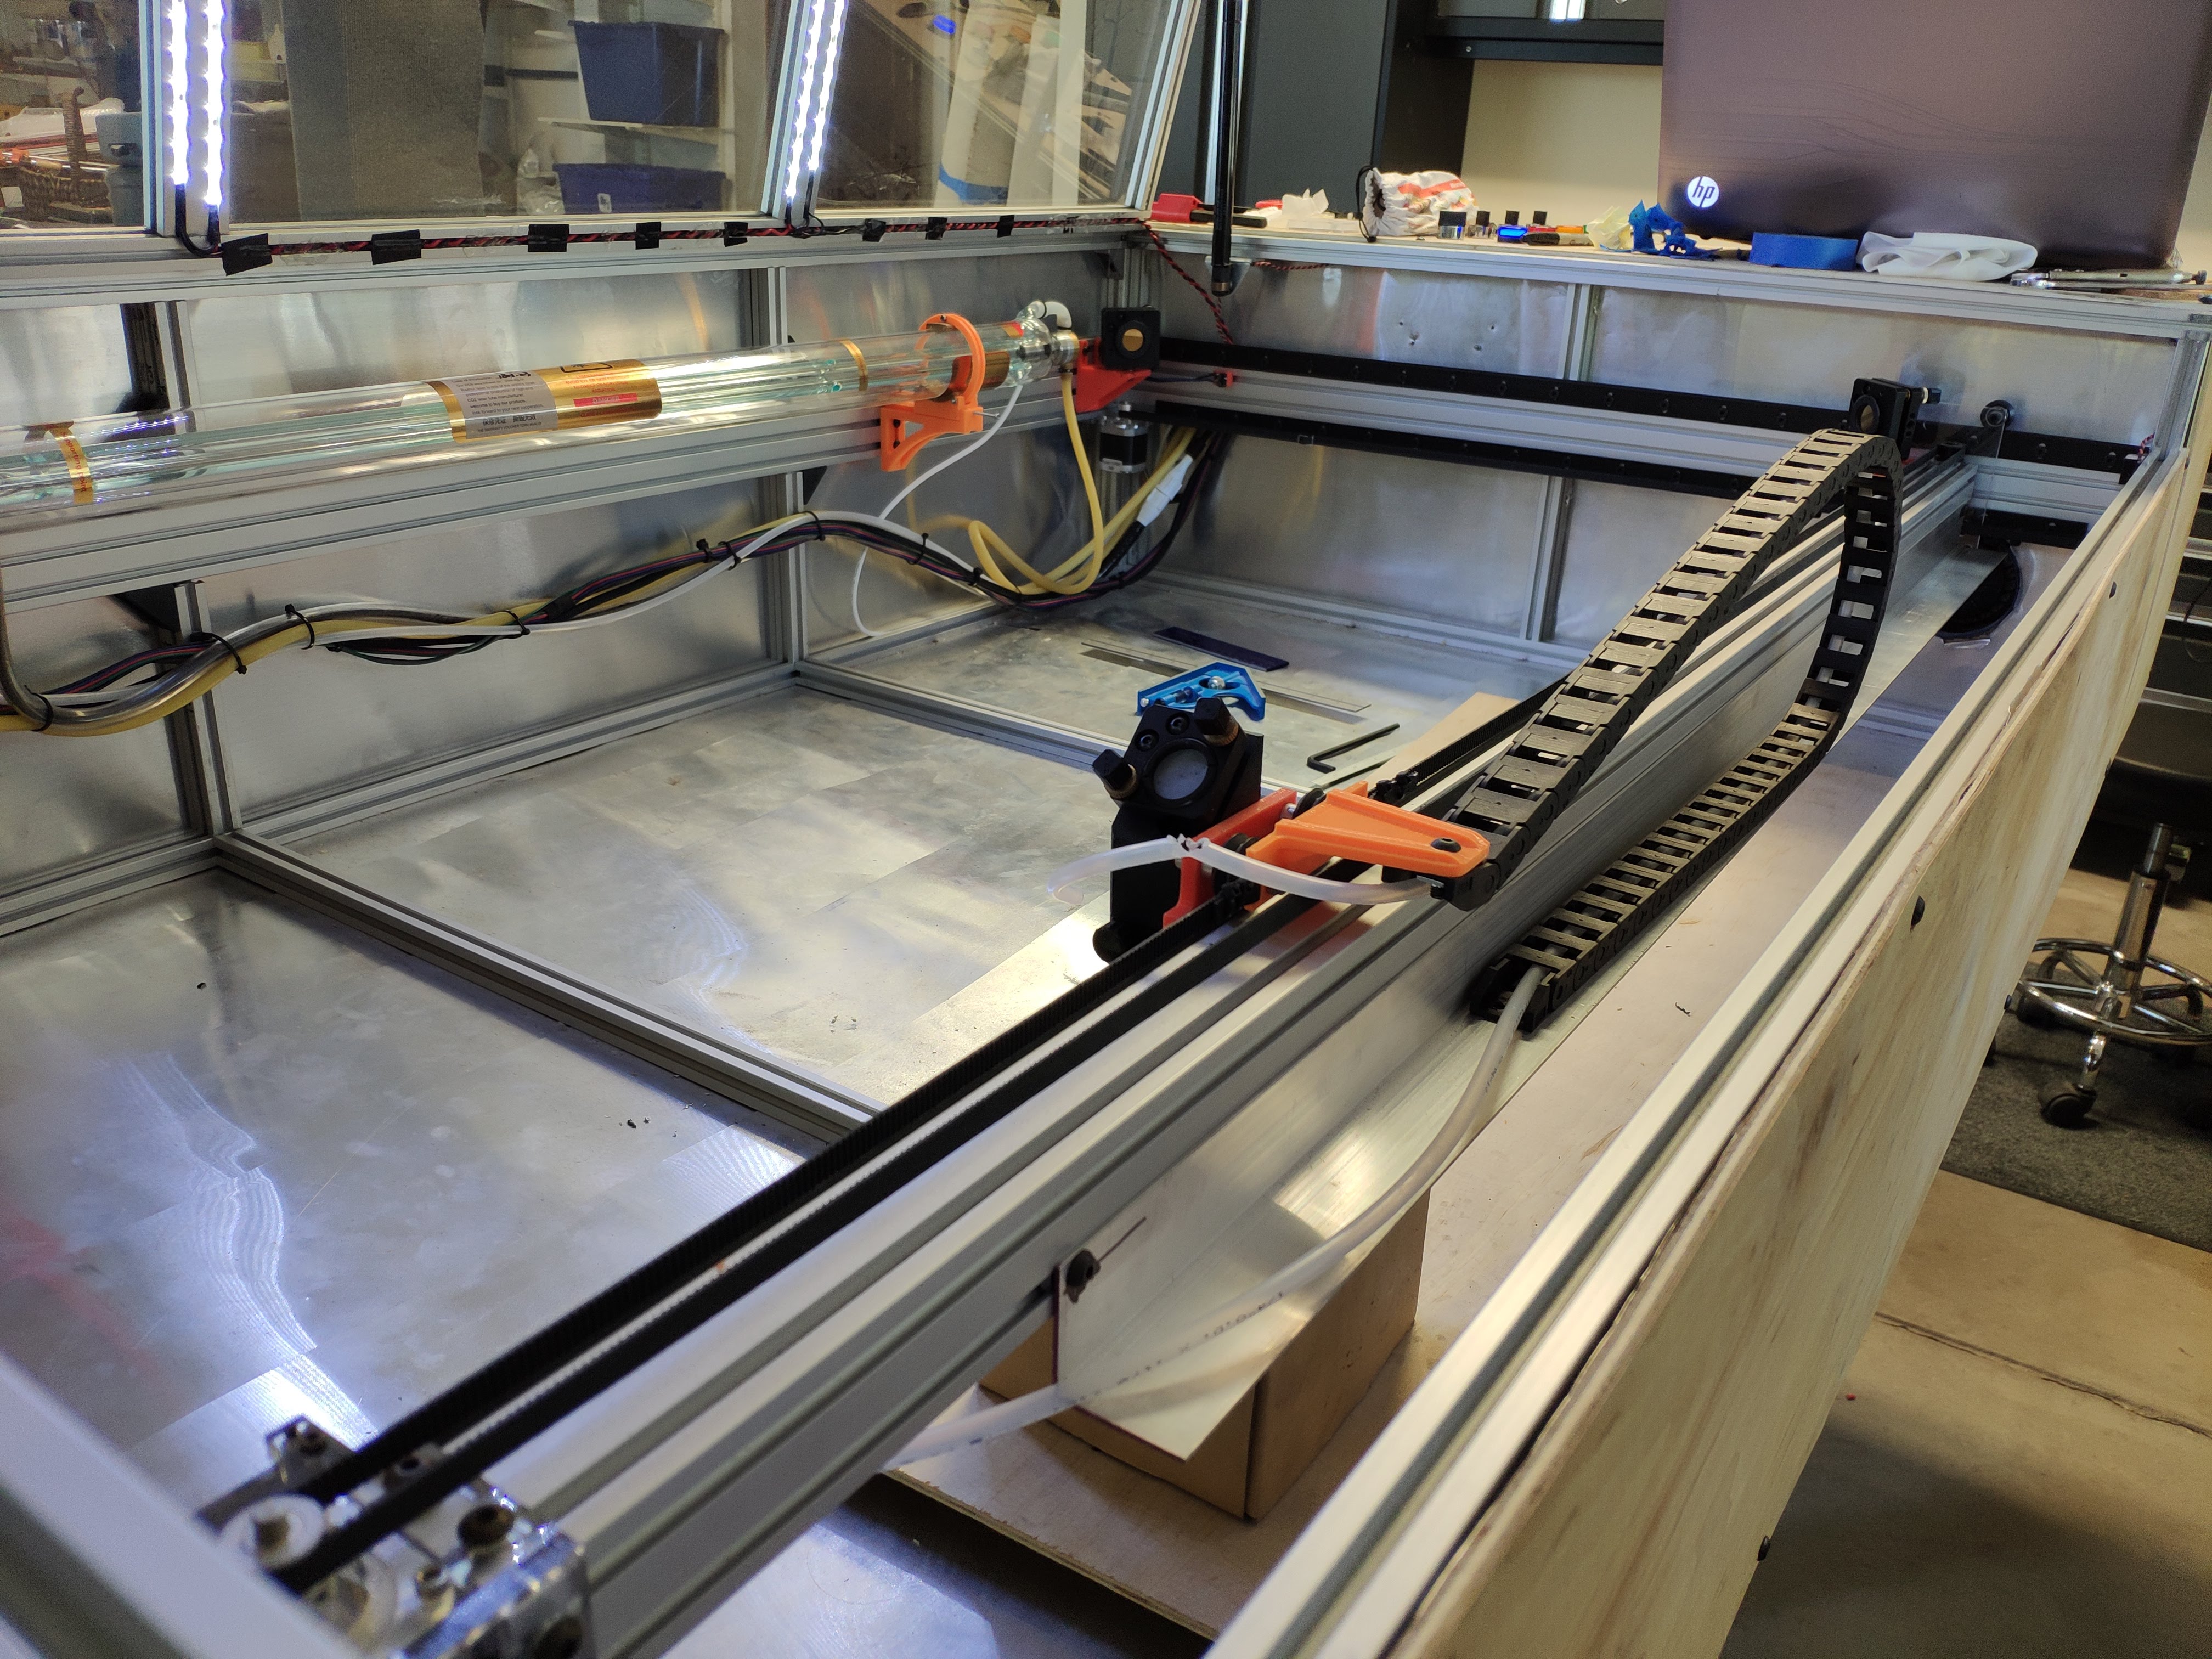
The laser is finally cutting! I got all the last details together, aligned the mirrors, and got Machinekit properly configured.
First big hurdle was getting the electronics all set up. I’d decided to use a BeagleBone Black and a Xylotex board. The Xylotex board only has outputs for 6 stepper motors, and a big header output for a bunch of analog inputs, digital inputs, and digital outputs. I needed a way to connect that header to all the inputs and outputs of the machine, but I didn’t want to make a single long cable that split and went straight to all the components. So I settled on making a little daughter board-
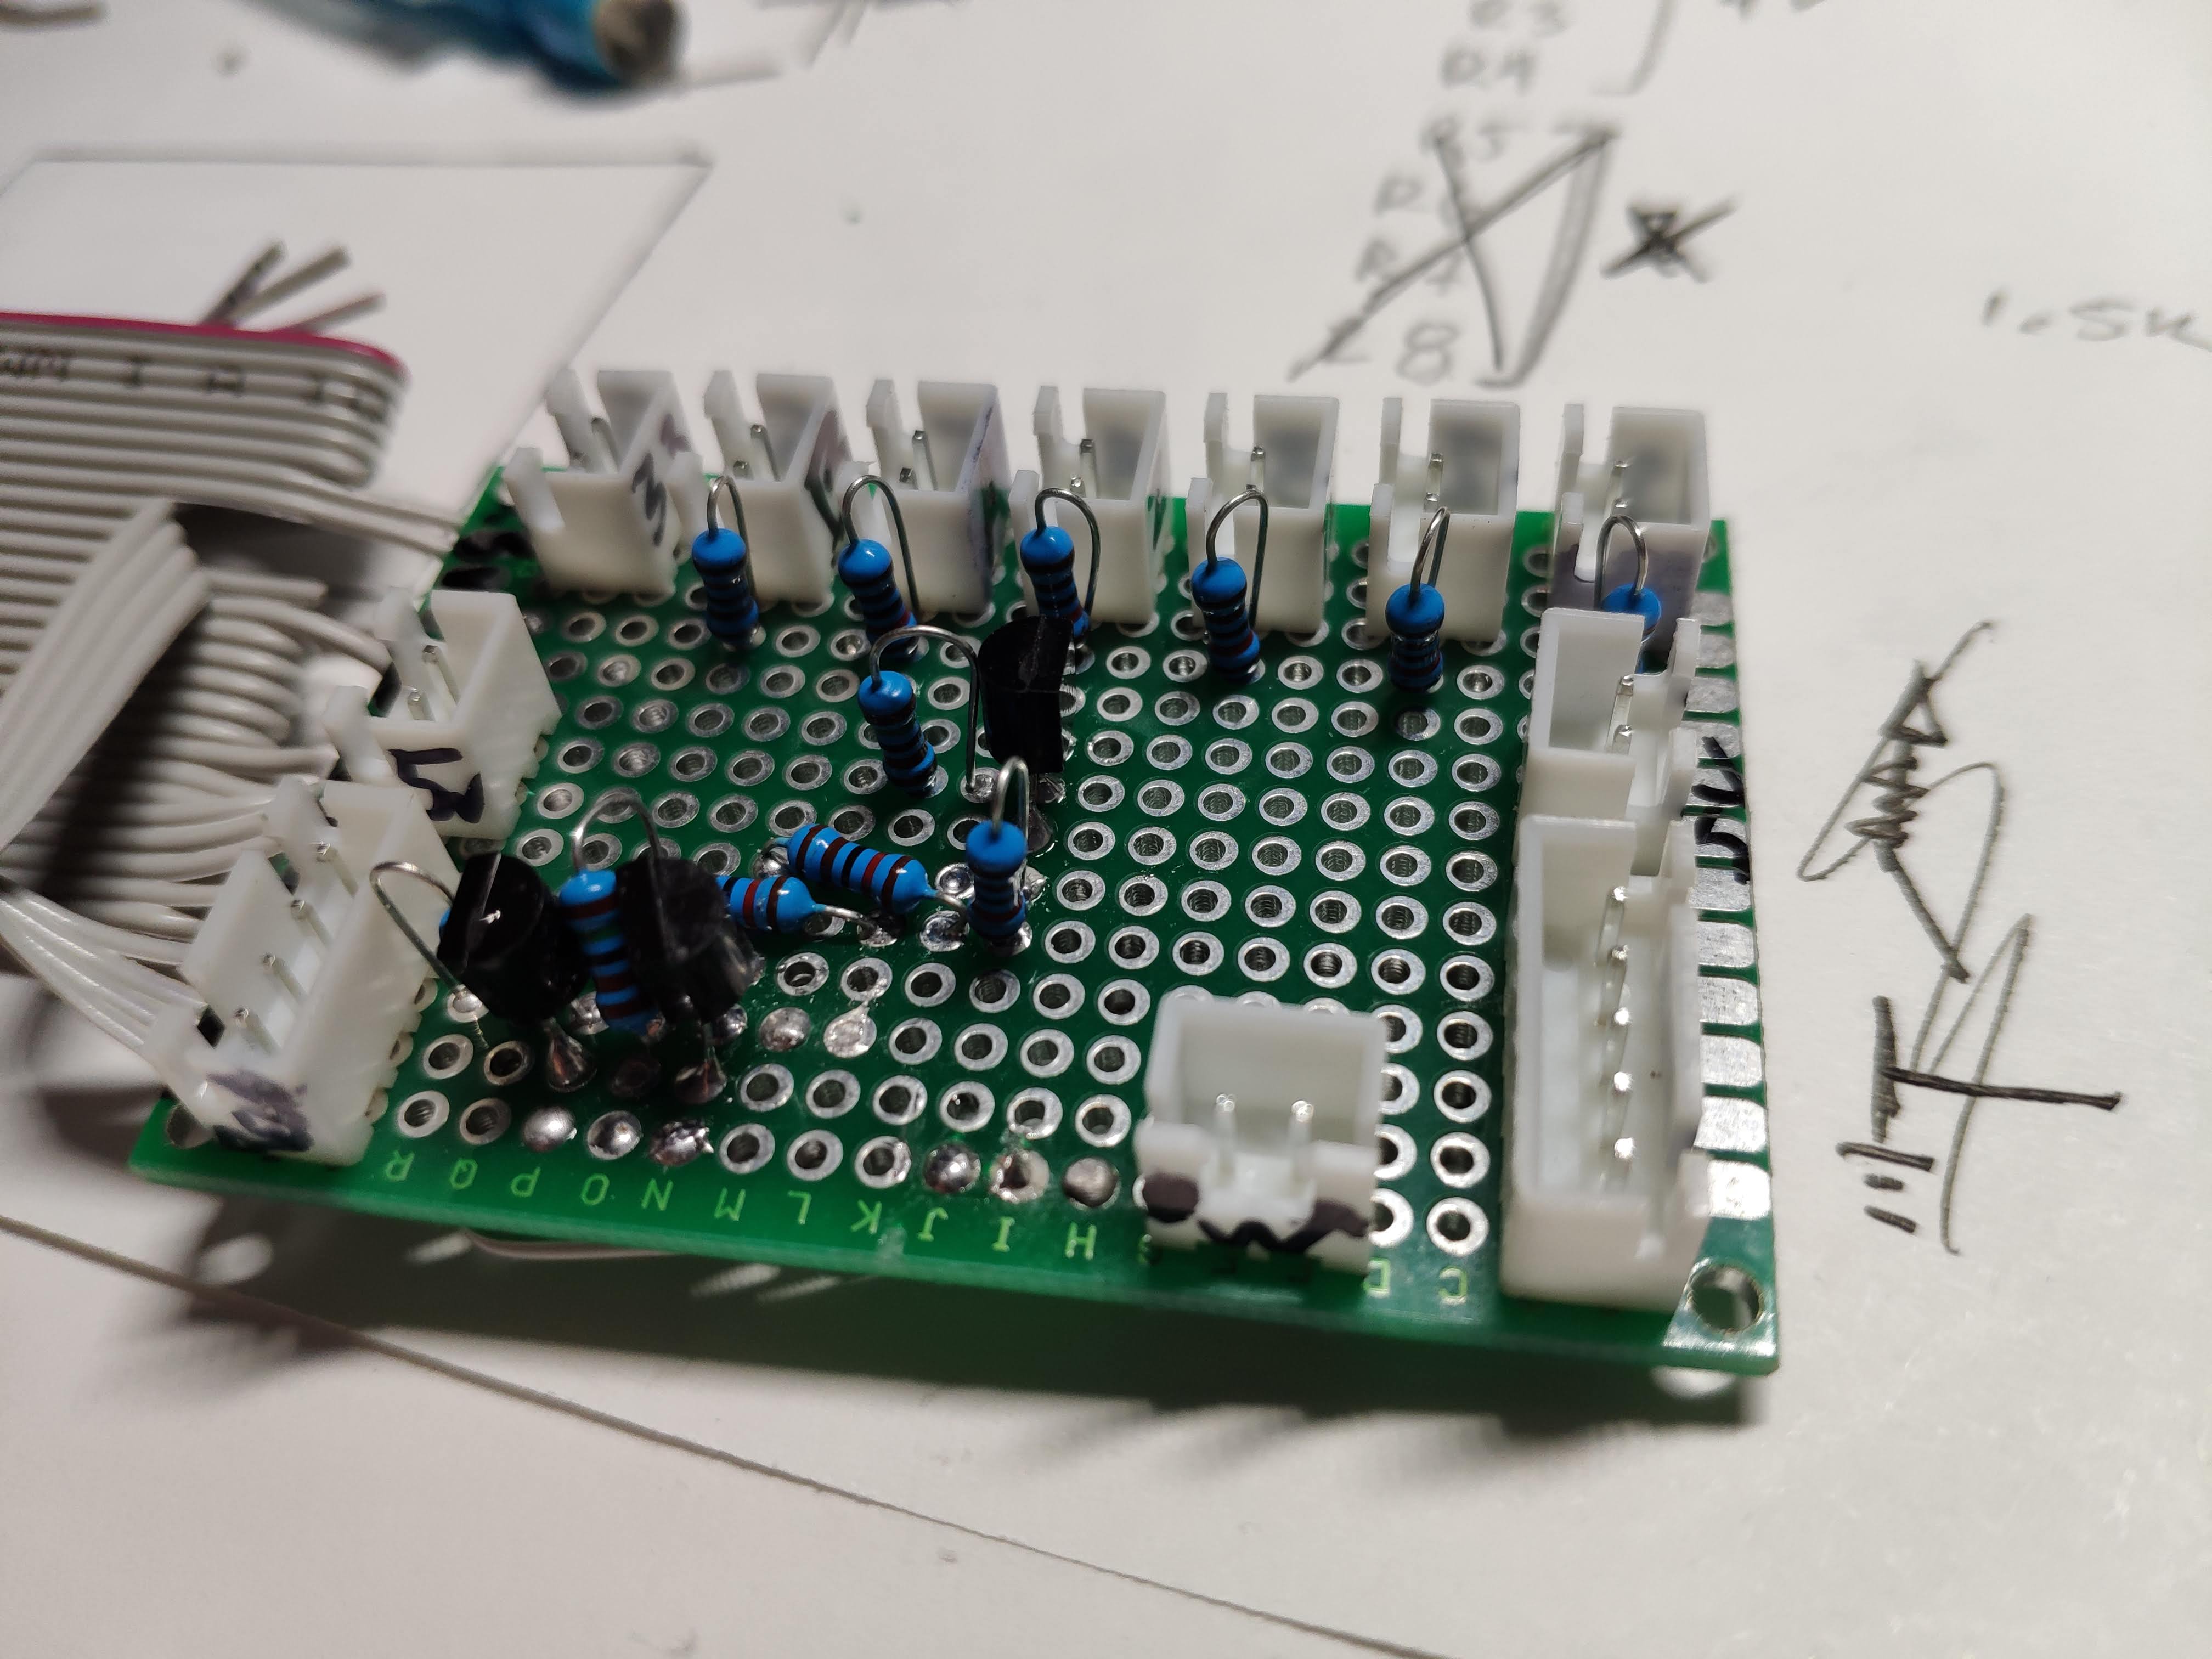 The daughter board breaks out all the outputs and inputs to appropriate connectors. At the top there are 6 endstop inputs, and a single 3.3v input. On the left I have a 5v input, which comes from a separate spot on the BeagleBone (the Xylotex board doesn’t provide any 5v output on the header) since the laser PSU runs on 5v inputs. Below that, I have a connector that takes outputs to the relay board. On the bottom right I have a connector that goes to the door interlock magnetic switch for the laser PSU. On the right I have a 5 pin connector that goes to the laser PSU (provides 5v, GND, laser enable, PWM, and door interlock signals). Finally above that I have another 3.3v connector. In the middle of the board I have some transistor based level shifting to take the 3.3v logic from the beagle and step it up to 5v for the laser PSU. Not pictured in this image was the later addition of some bypass capacitors on the endstop inputs. I found this was necessary to suppress some spurious triggers I was getting when the laser fired.
After a long struggle getting Machinekit configured and running correctly (that will have to get a whole separate post). I was able to get the first cuts-
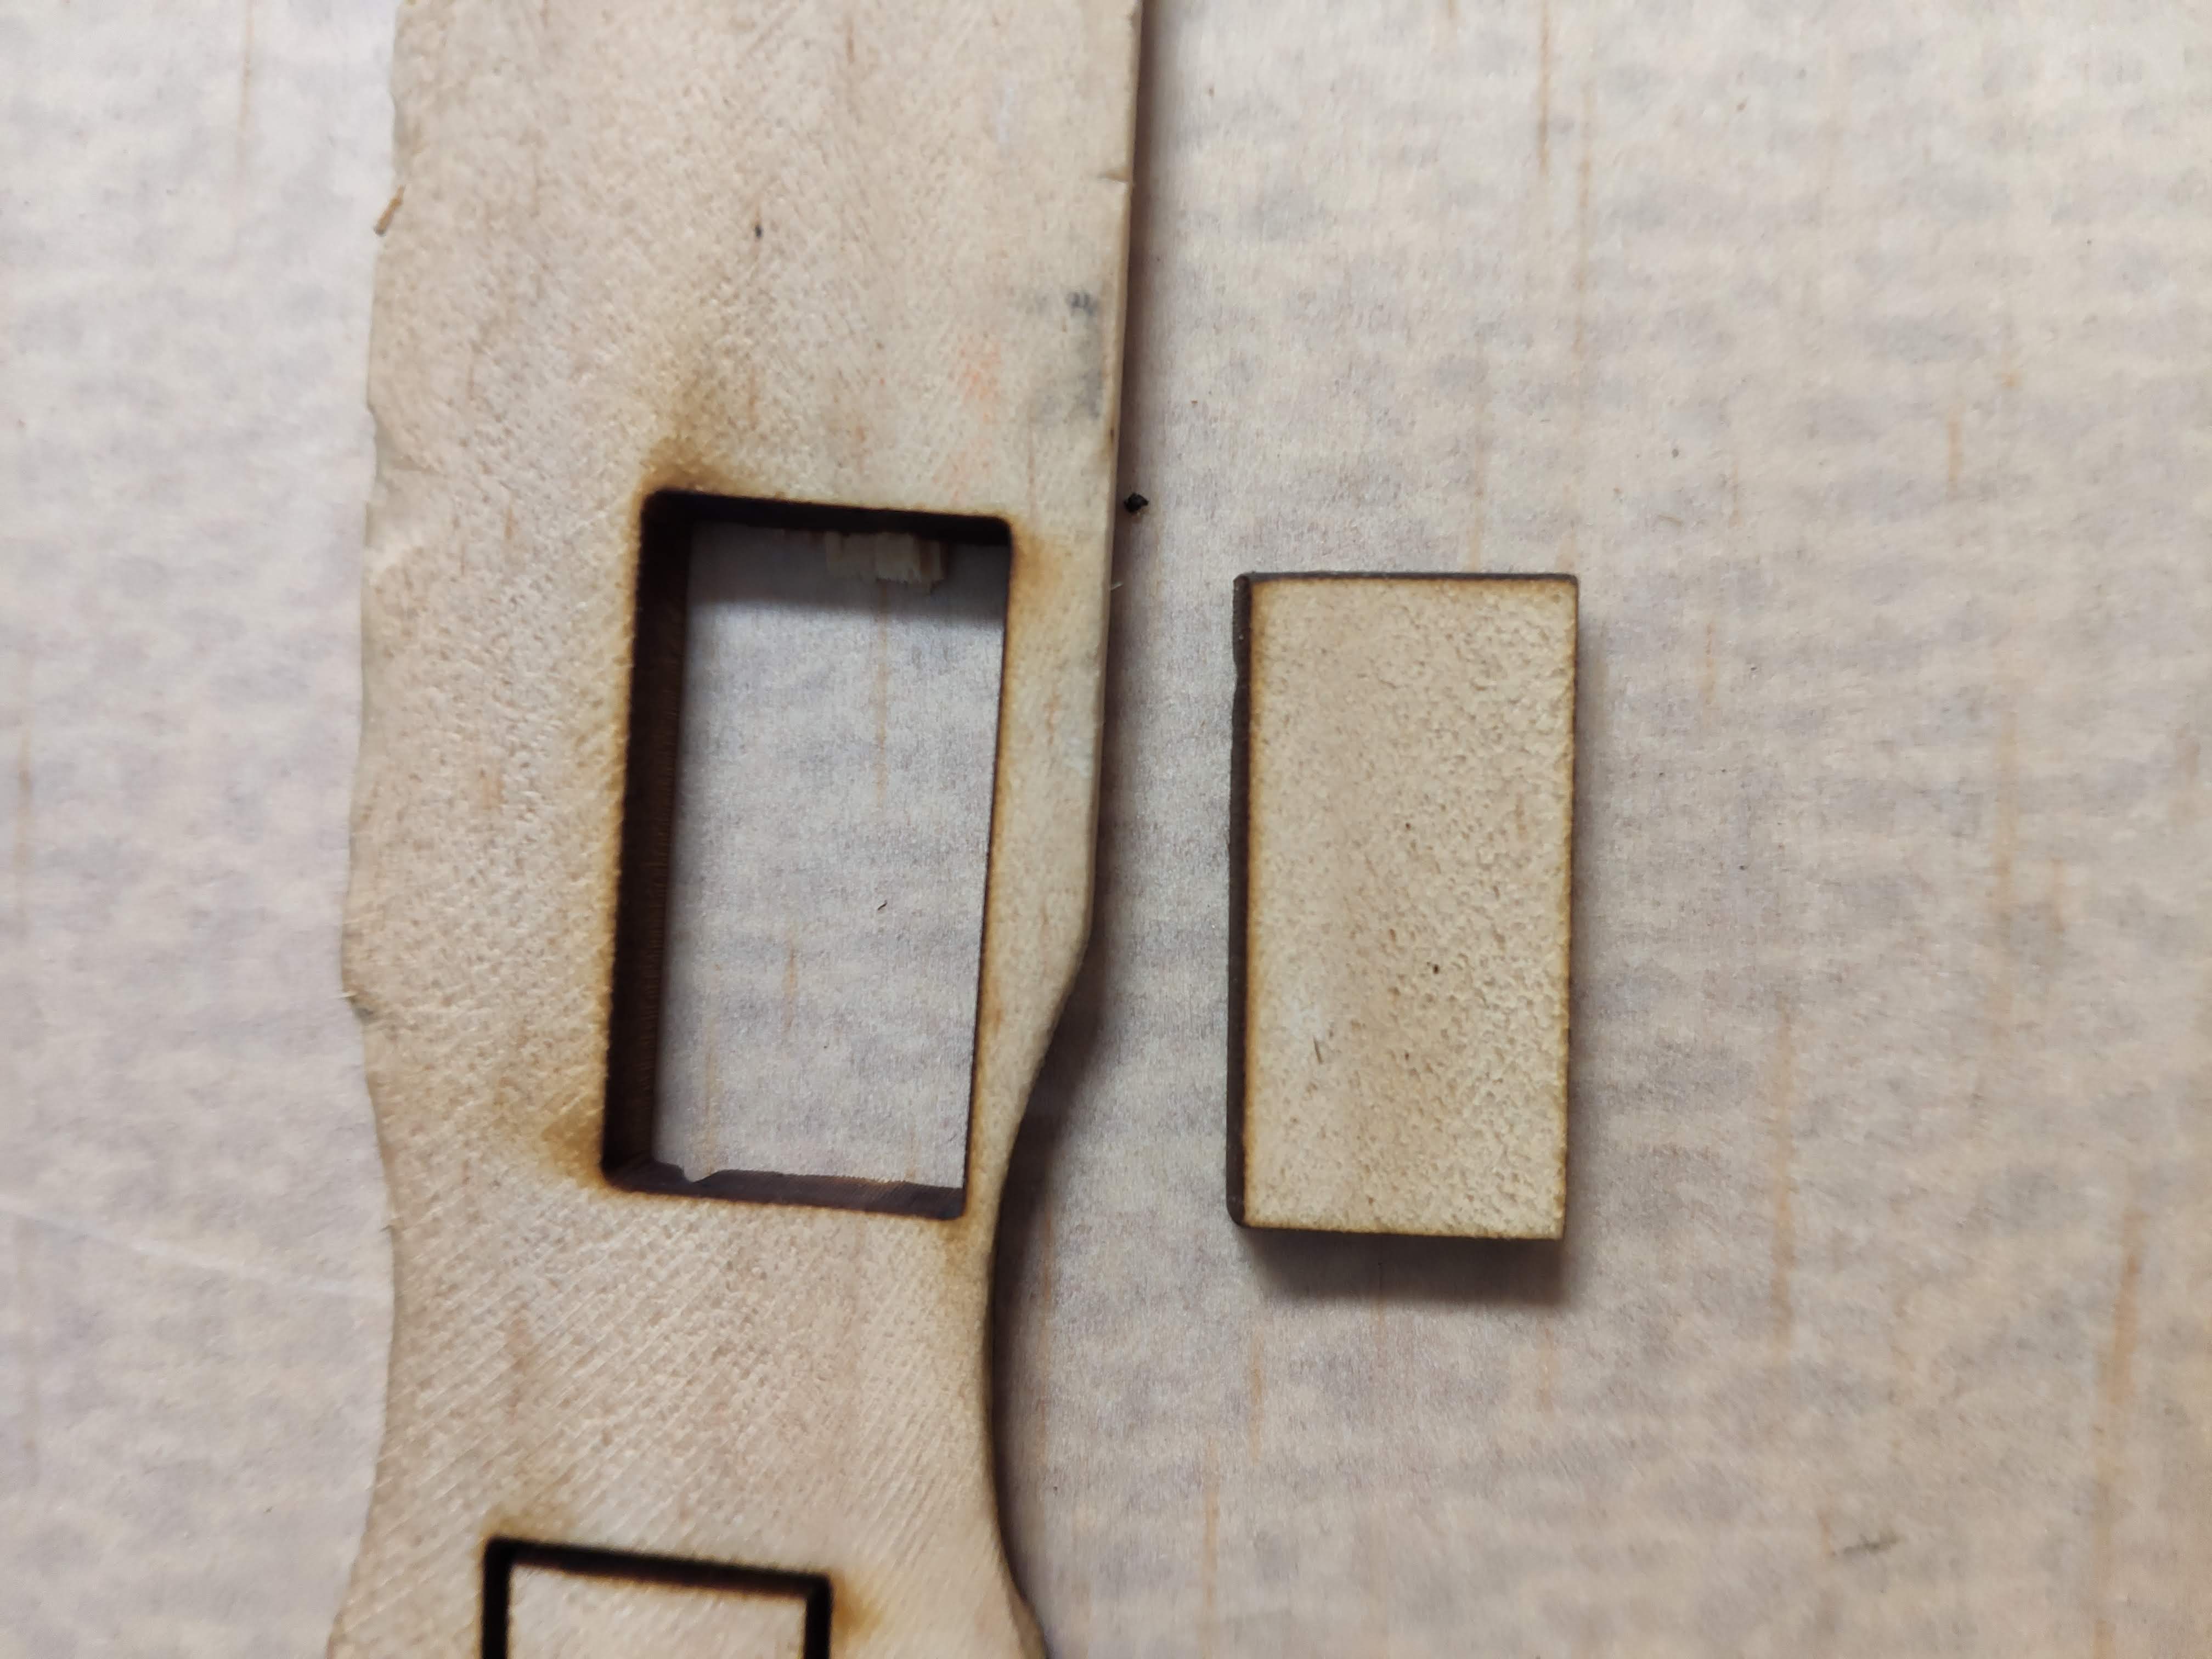 This cut was made by some basic gcode I wrote when I was first testing. This worked pretty well, so I moved on to trying to generate some more complex gcode from the 500px logo, which I found on a public site of SVG logos.
 This exposed another problem, which was the double lines you see above. I eventually found that this was due to vibration and misalignment in the mirrors, which I was able to fix.
Finally I cut a small version of the Apache logo (about 1” tall) to see how good the detail was-
This exposed another problem, which was the double lines you see above. I eventually found that this was due to vibration and misalignment in the mirrors, which I was able to fix.
Finally I cut a small version of the Apache logo (about 1” tall) to see how good the detail was-
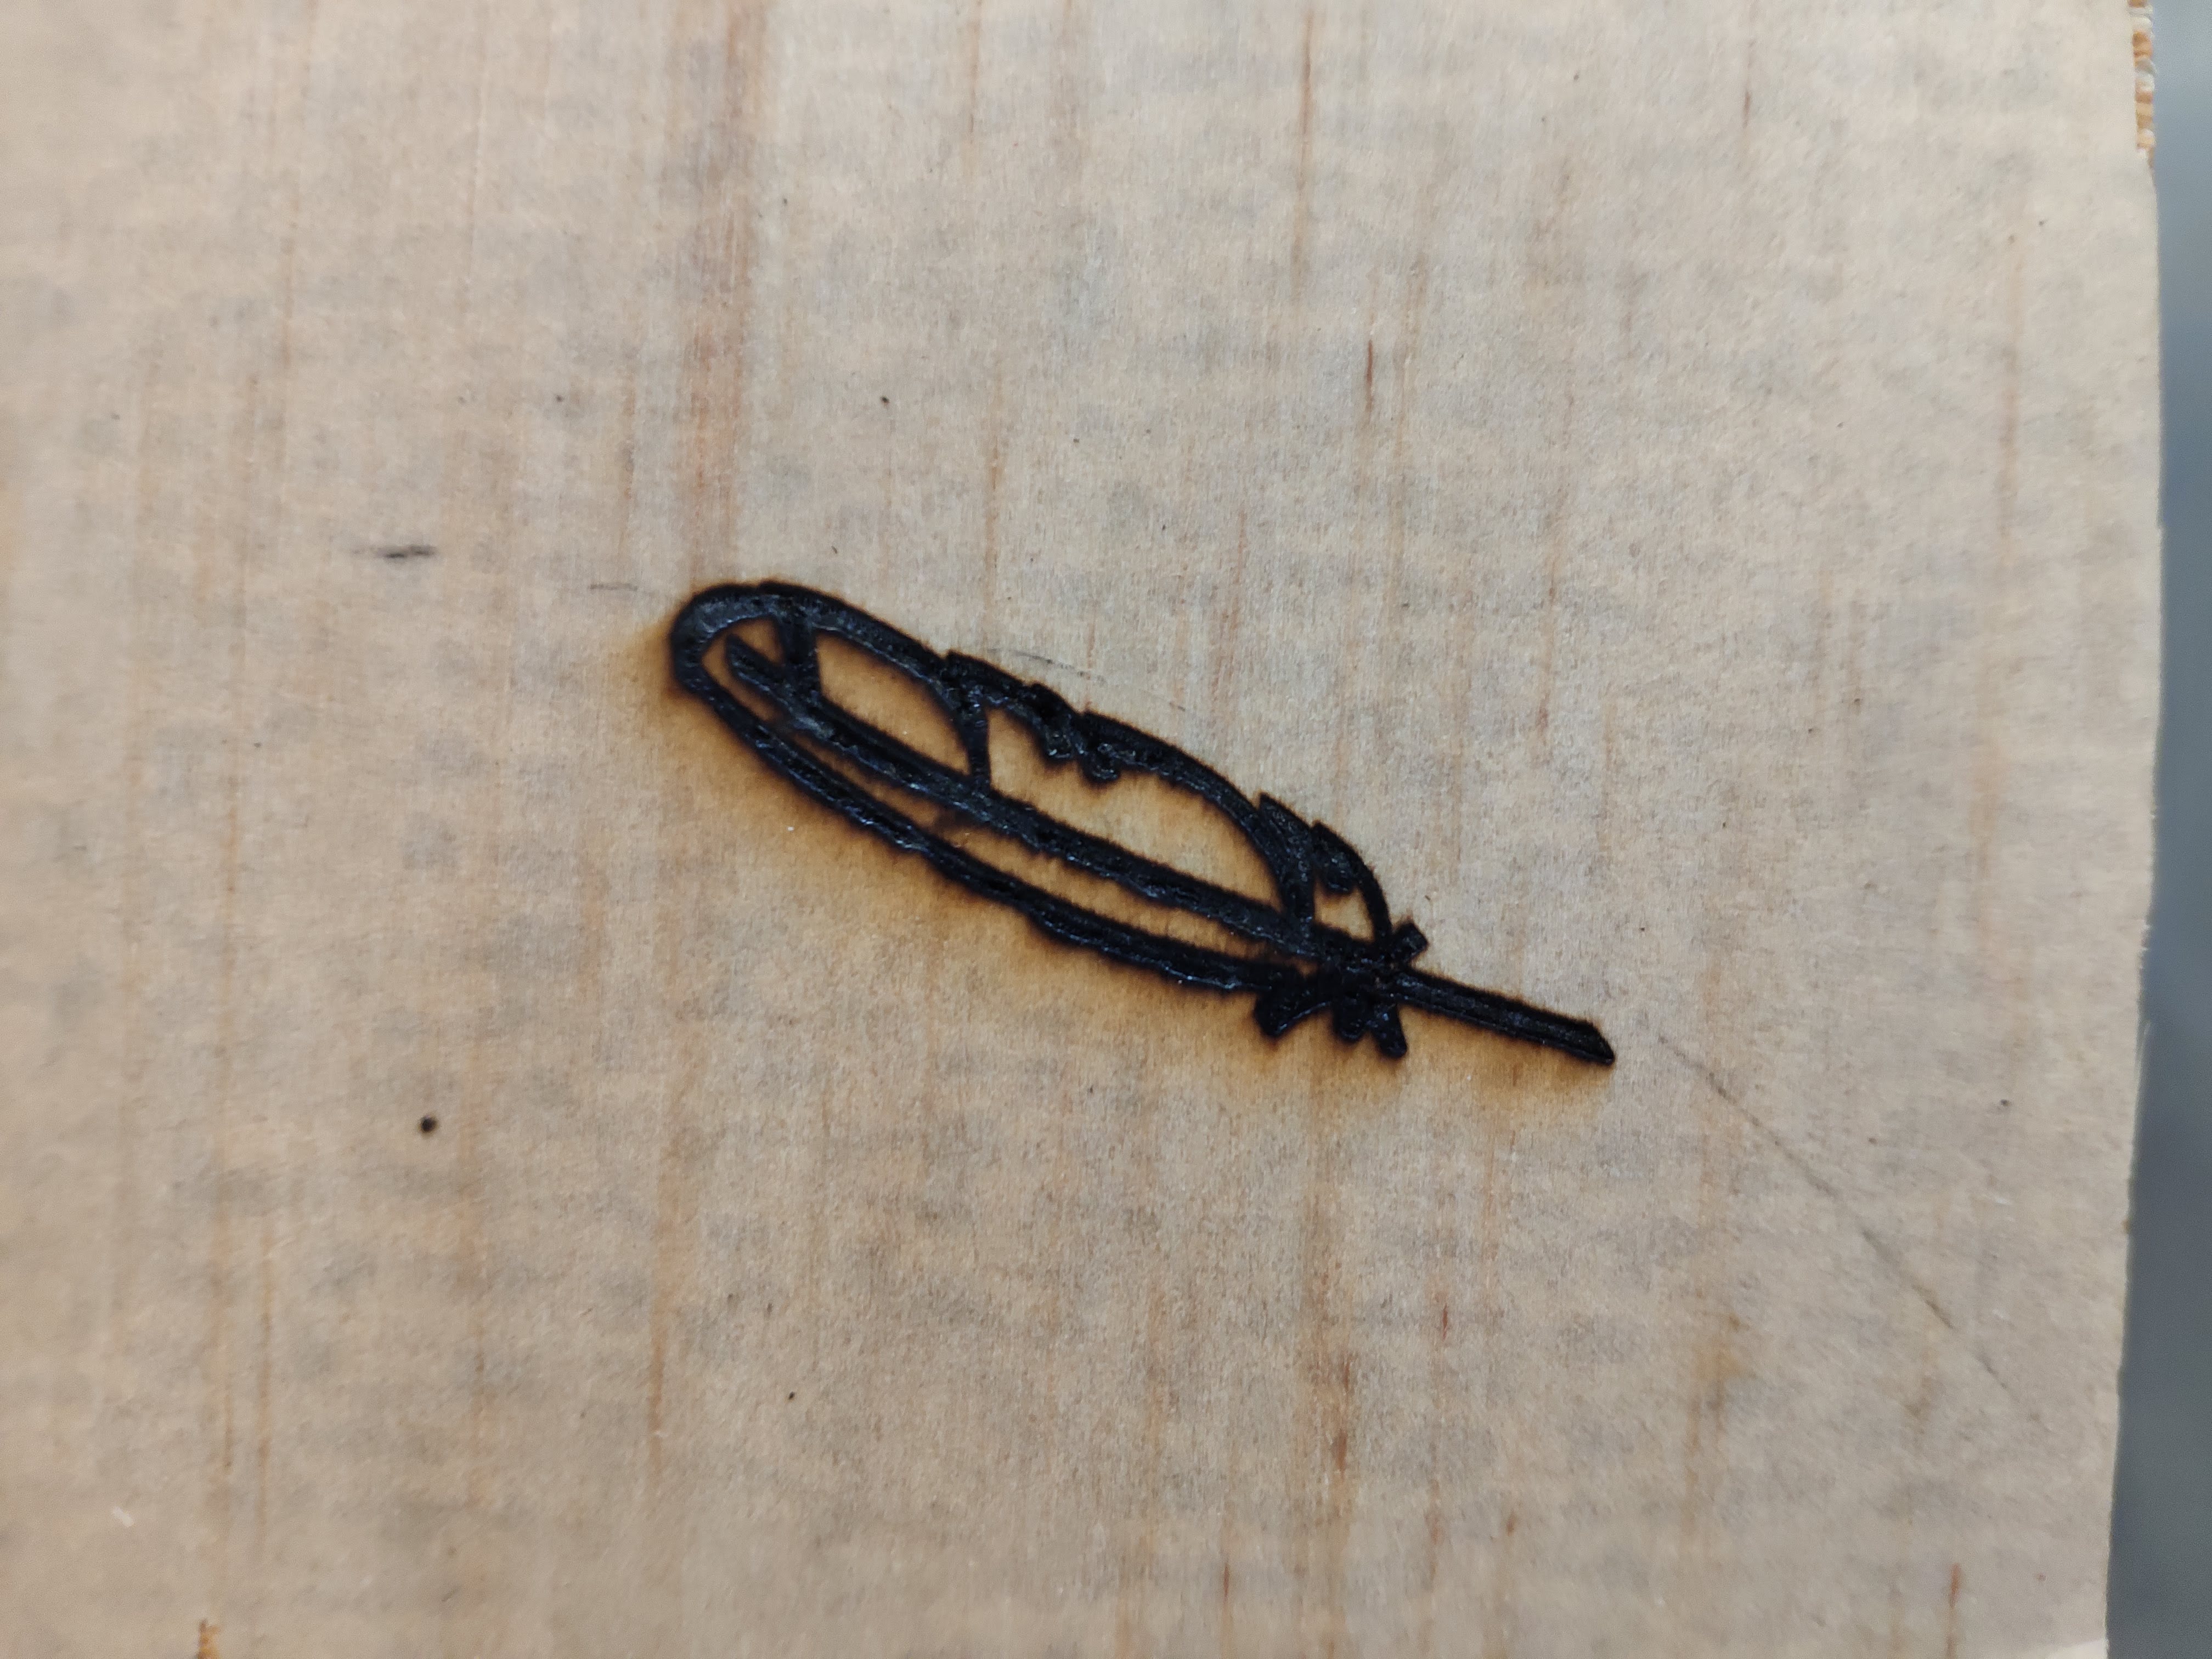 This worked a lot better, but shows that I need to adjust my lens to get closer to the focal point. These marks are pretty thick.
DominicDoty.com and all work shown in it is licensed under a Creative Commons Attribution-NonCommercial-ShareAlike 4.0 International License.